Lab 2 – Create My First Policy
In this lab, we will use the resources configured in the previous lab and configure a simple Access Profile using the Visual Policy Editor (VPE) to perform user authentication.
Note
Lab Requirements:
- Working HTTP and HTTPS Virtual Servers (from previous lab)
Task – Define an Authentication Server
Before we can create an access profile, we must create the necessary AAA server profile for our Active Directory.
Follow these steps to complete this task:
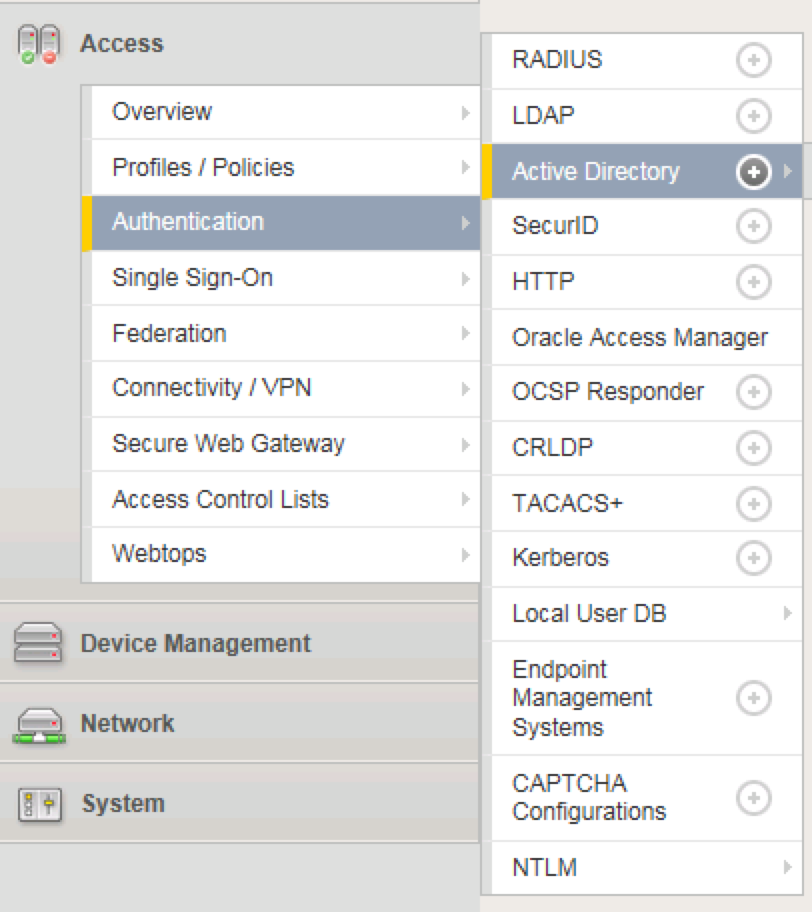
From the main screen, browse to Access > Authentication > Active Directory
Click Create… in the upper right-hand corner
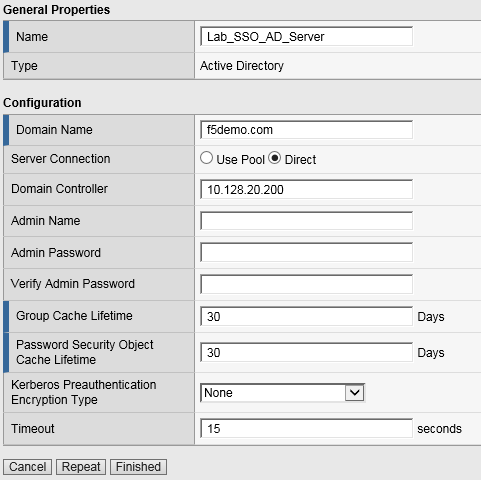
Configure the new server profile as follows, then click Finished:
- Name: Lab_SSO_AD_Server
- Domain Name: f5demo.com
- Server Connection: Direct
- Domain Controller: 10.128.20.200
Task – Create a Simple Access Profile
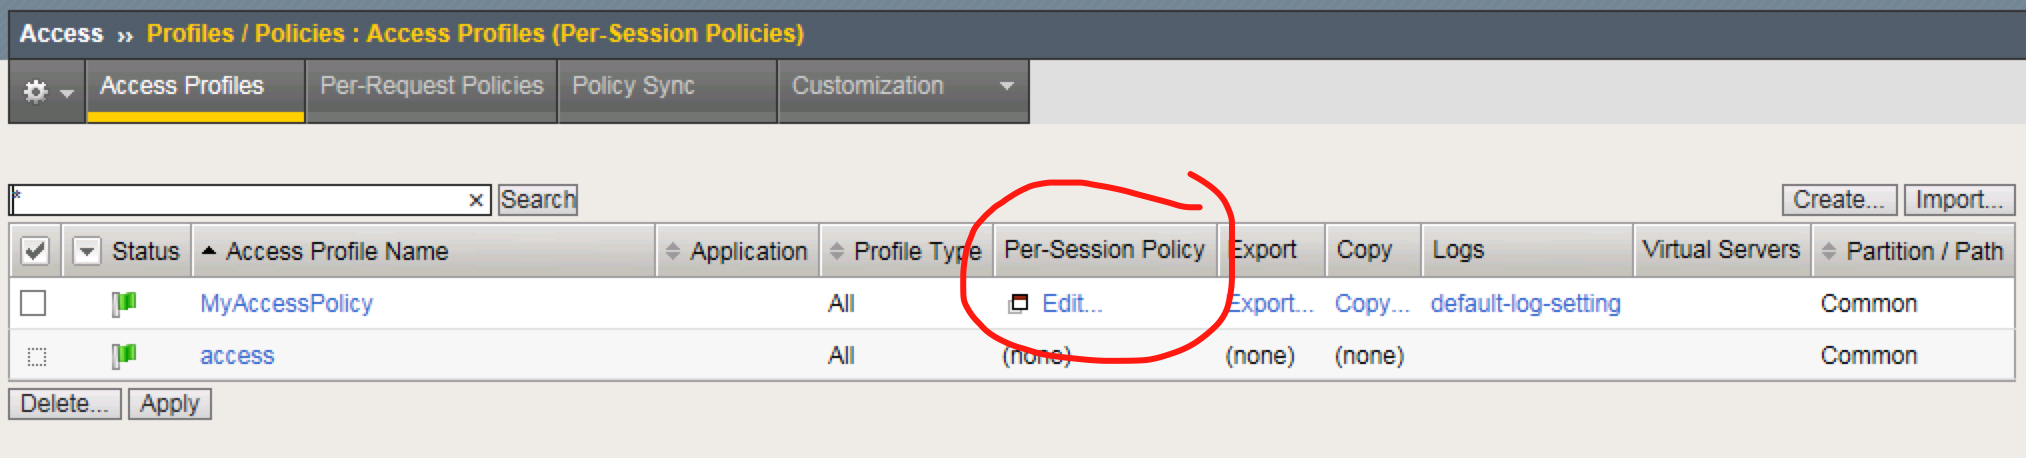
Navigate to Access > Profiles / Policies > Access Profiles (Per-Session Policies)
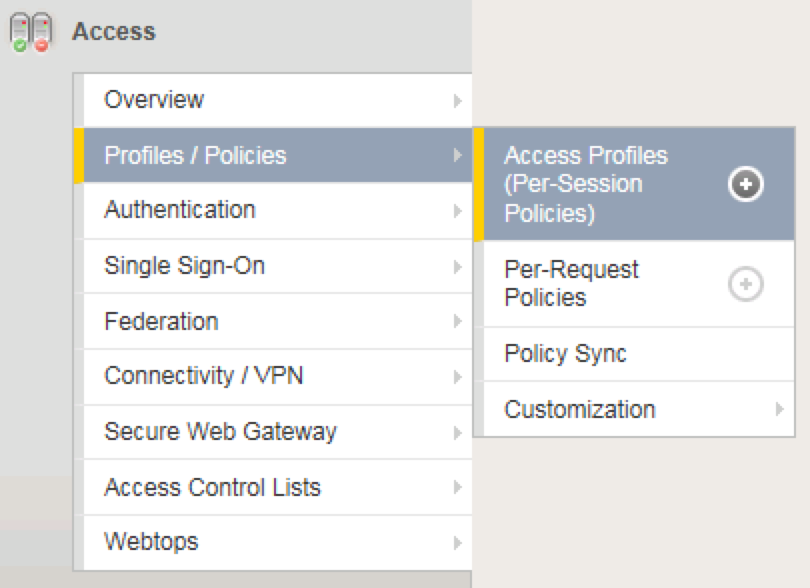
From the Access Profiles screen, click Create… in the upper right-hand corner
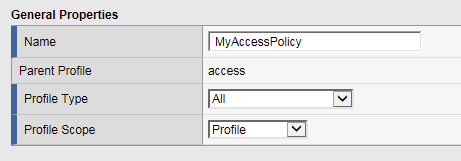
In the Name field, enter “MyAccessPolicy”, and for “Profile Type”, select the dropdown and choose All
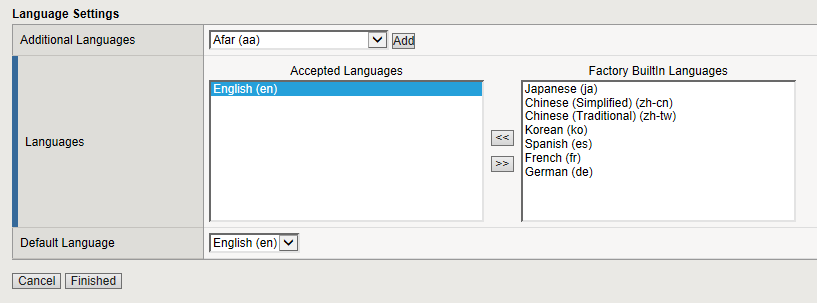
Under “Language Settings”, choose English and click the “<<“ button to slide over to the “Accepted Languages” column.
Click Finished, which will bring you back to the Access Profiles screen.
On the Access Profiles screen, click the Edit link under the Per-Session Policy column. The Visual Policy Editor (VPE) will open in a new tab.
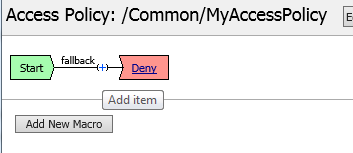
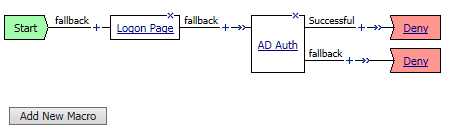
On the VPE page, click the ‘+’ icon on the “fallback” path, to the right of the Start object.
On the popup menu, choose the Logon Page radio button under the Logon tab.
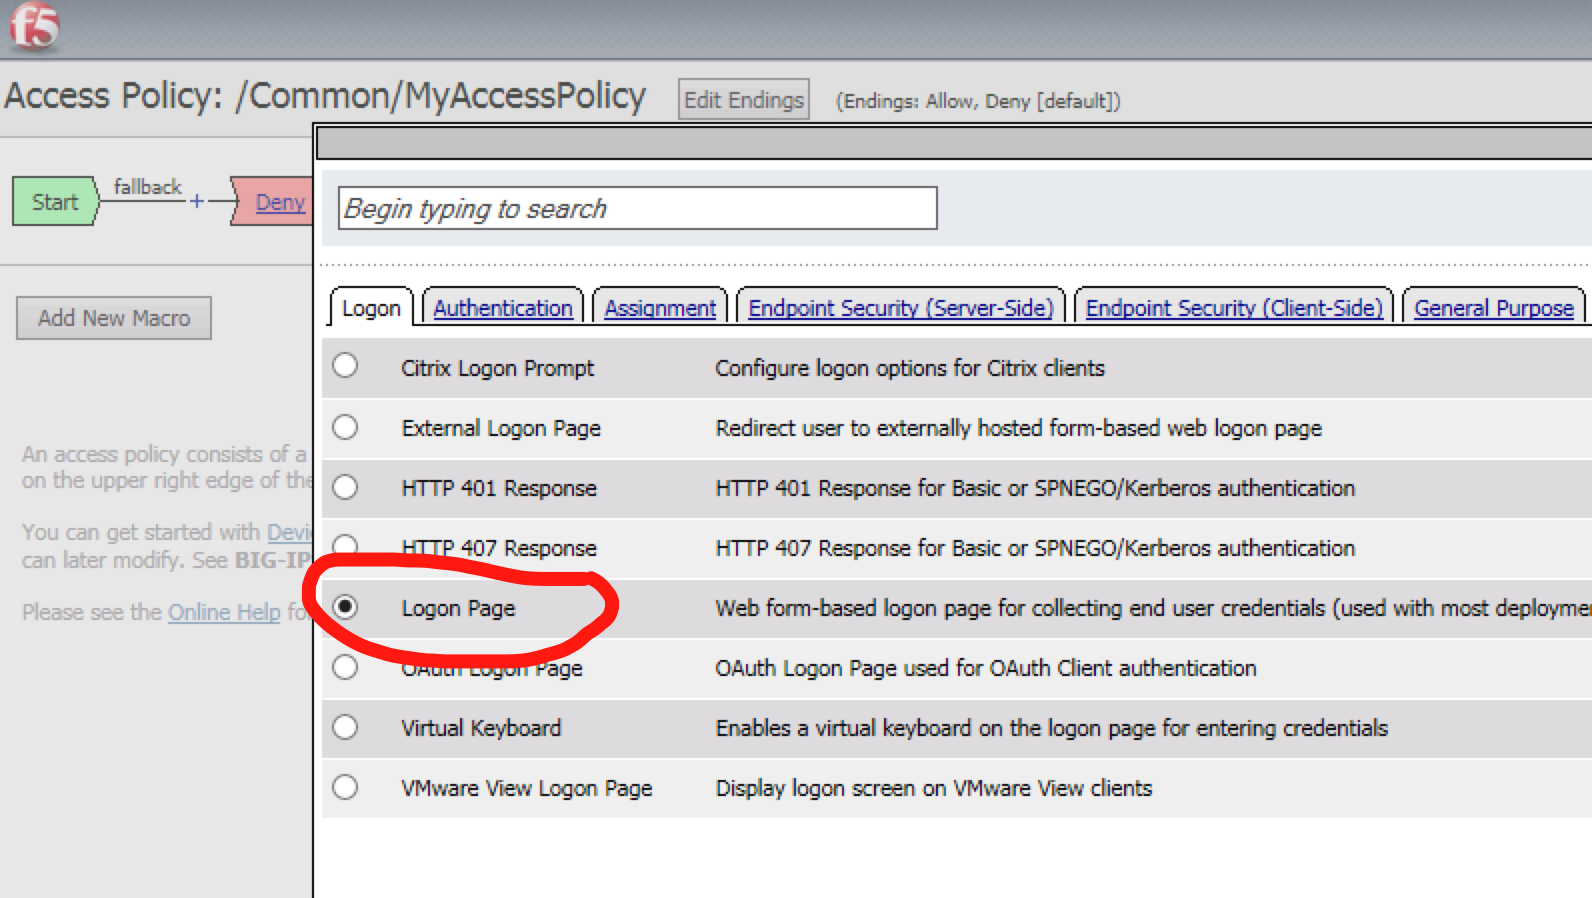
Click Add Item.
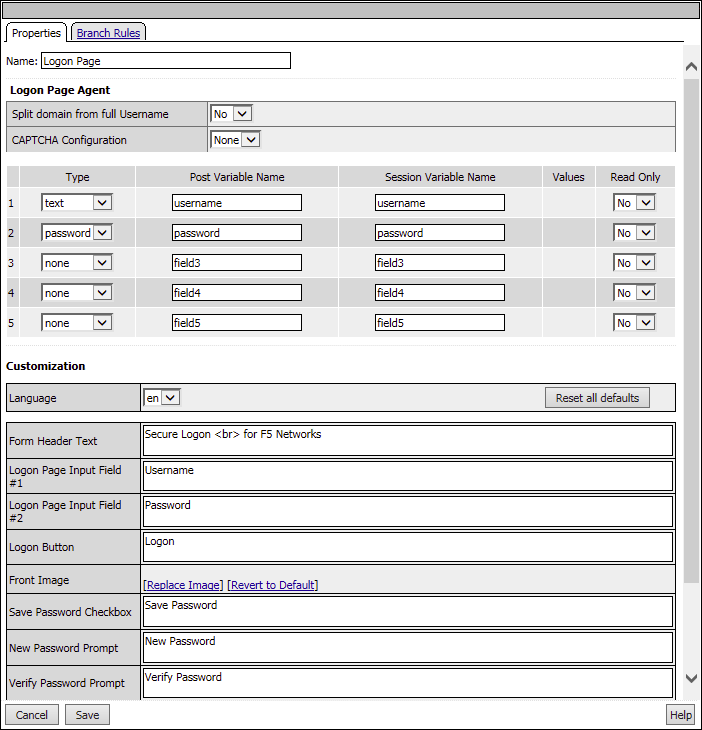
Accept the defaults and click Save.
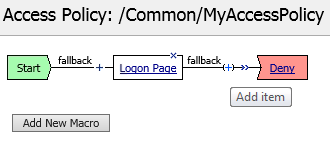
Now let’s authenticate the client using the credentials to be provided via the “Logon Page” object.
Between the “Logon Page” and “Deny” objects, click the ‘+’ icon.
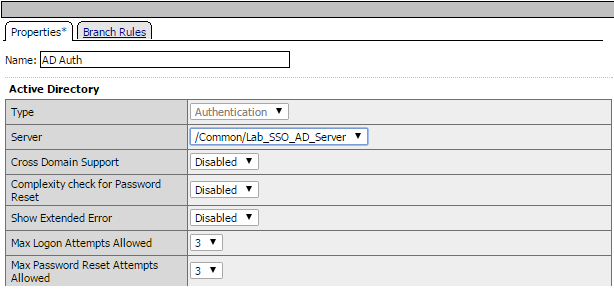
Select AD Auth found under the Authentication tab, and click the Add Item button.
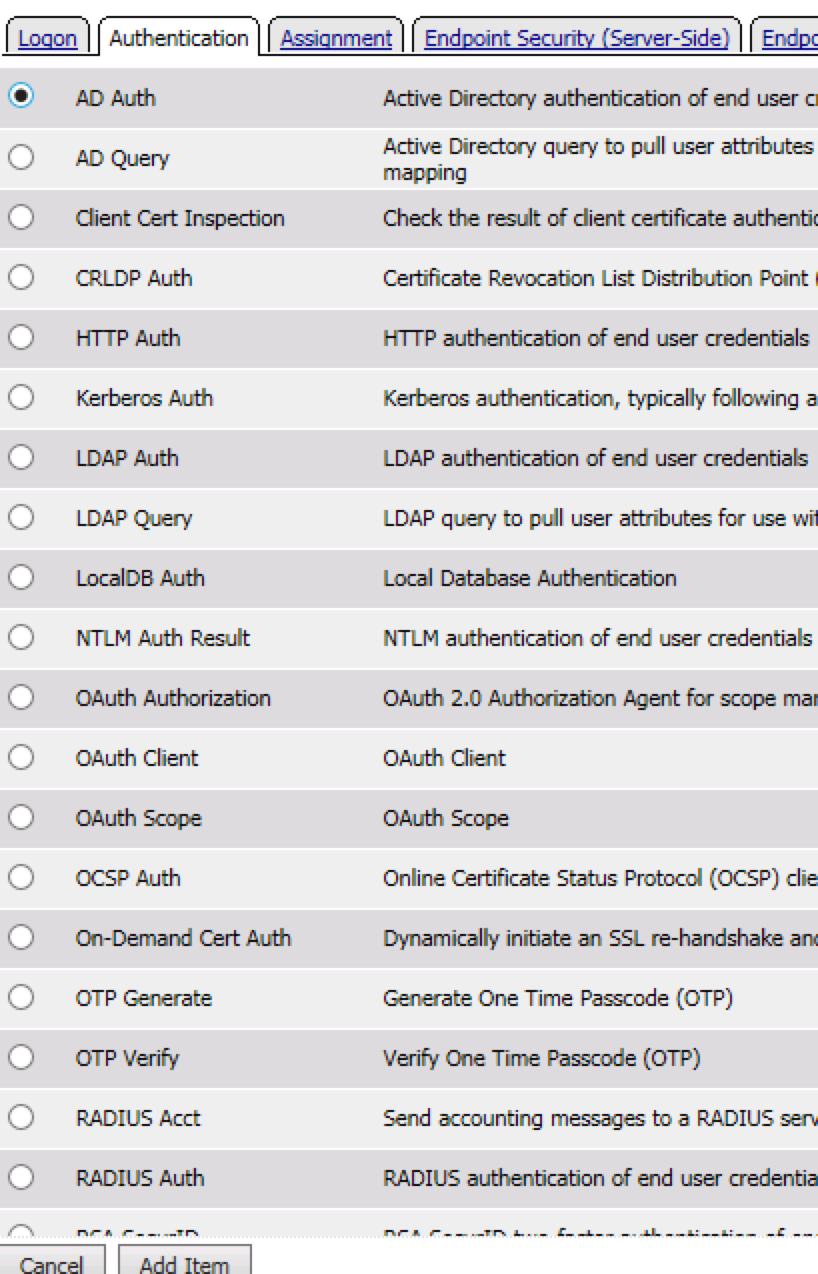
Accept the default for the Name and in the Server drop-down menu select the AD server created above: /Common/LAB_SSO_AD_Server, then click Save.
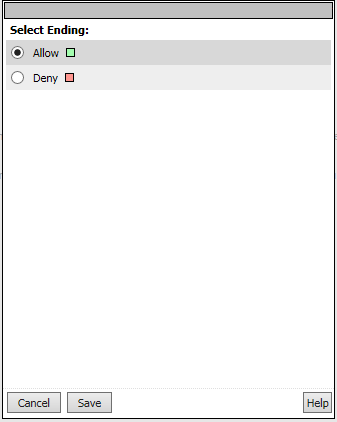
On the “Successful” branch between the AD Auth and Deny objects, click on the word Deny to change the ending.
Change the “Successful” branch ending to Allow, then click Save.

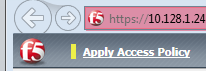
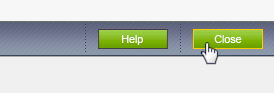
In the upper left-hand corner of the screen, click on the Apply Access Policy link, then close the window using the Close button in the upper right-hand. Click Yes when asked “Do you want to close this tab?”.
Task – Associate Access Policy to Virtual Servers
Now that we have created an access policy, we must apply it to the appropriate virtual server to be able to use it.
From the Local Traffic menu, navigate to the Virtual Servers List and click the name of the virtual server created previously: https_vs.
Scroll down to the “Access Policy” section, then for the “Access Profile” dropdown, select MyAccessPolicy.
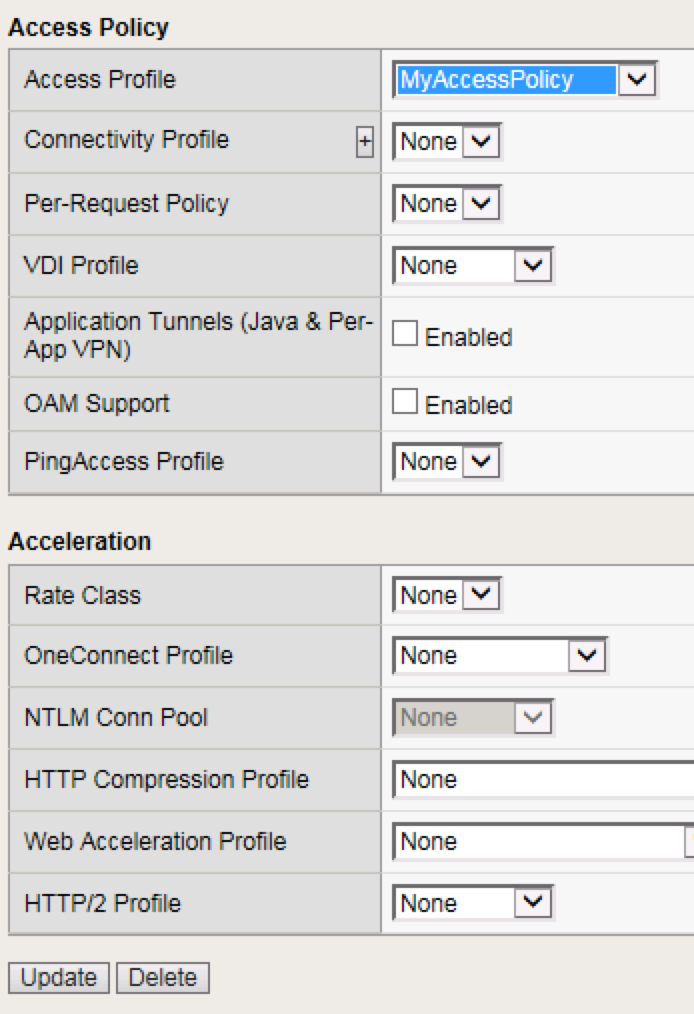
Click Update at the bottom of the screen.
Task – Testing
Now you are ready to test.
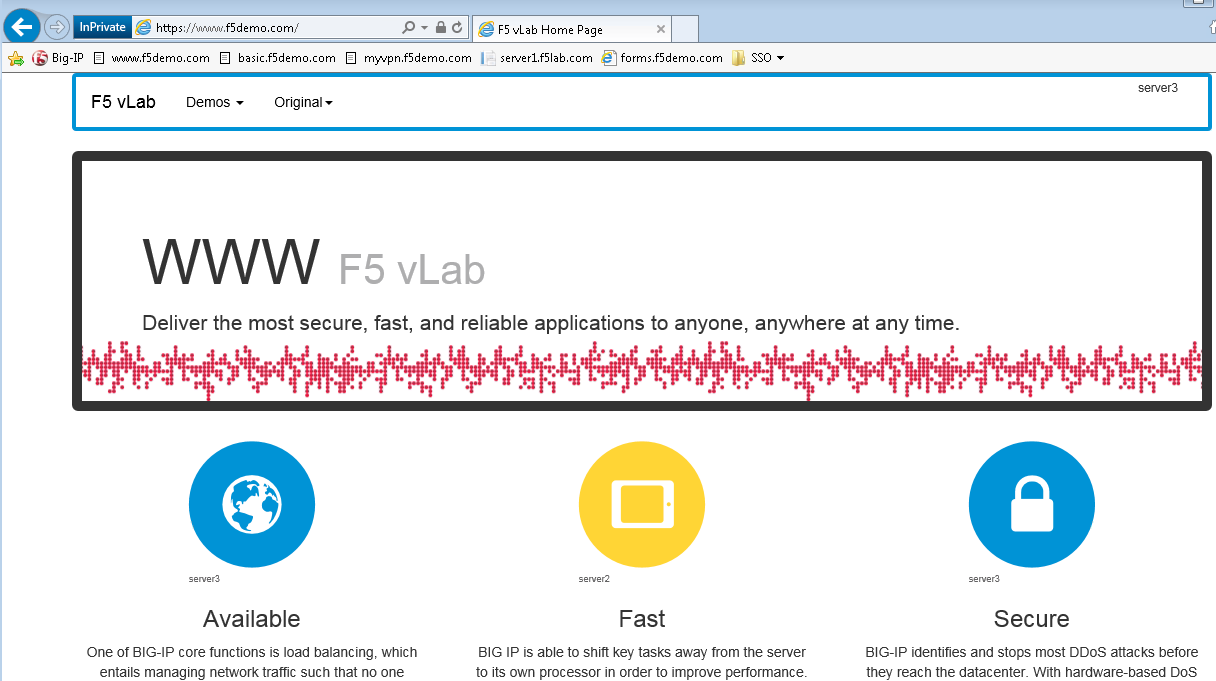
Open a new browser window and open the URL for the virtual server that has the access policy applied: https://www.f5demo.com. You will be presented with a login window.
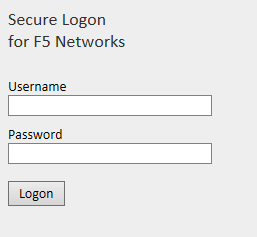
Enter the following credentials and click Logon:
- Username: user
- Password: Agility1
You will see a screen similar to the following: